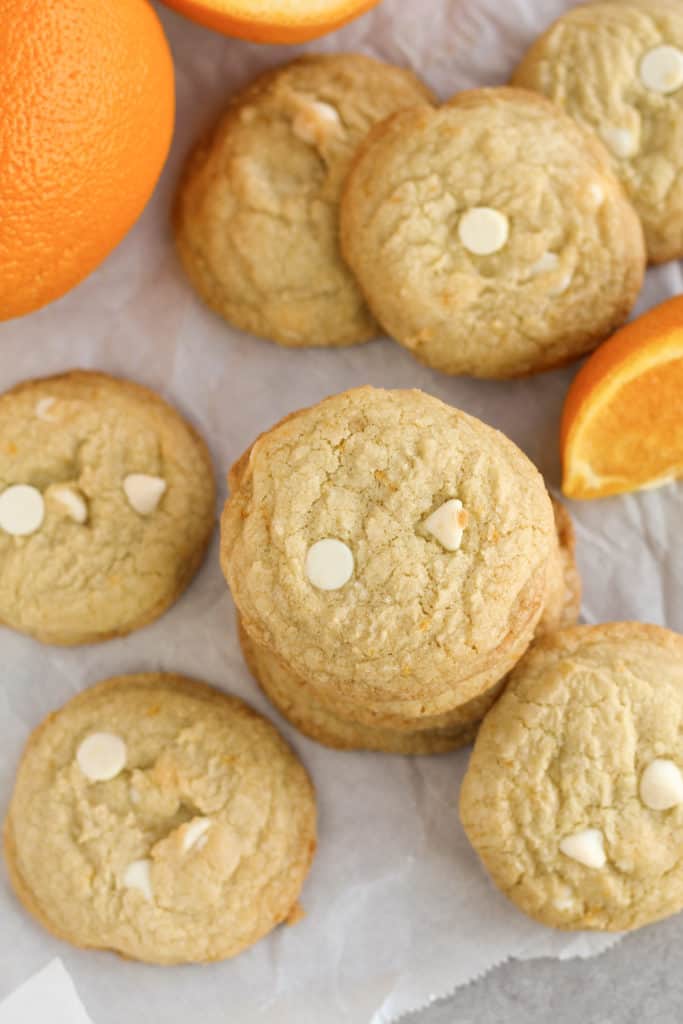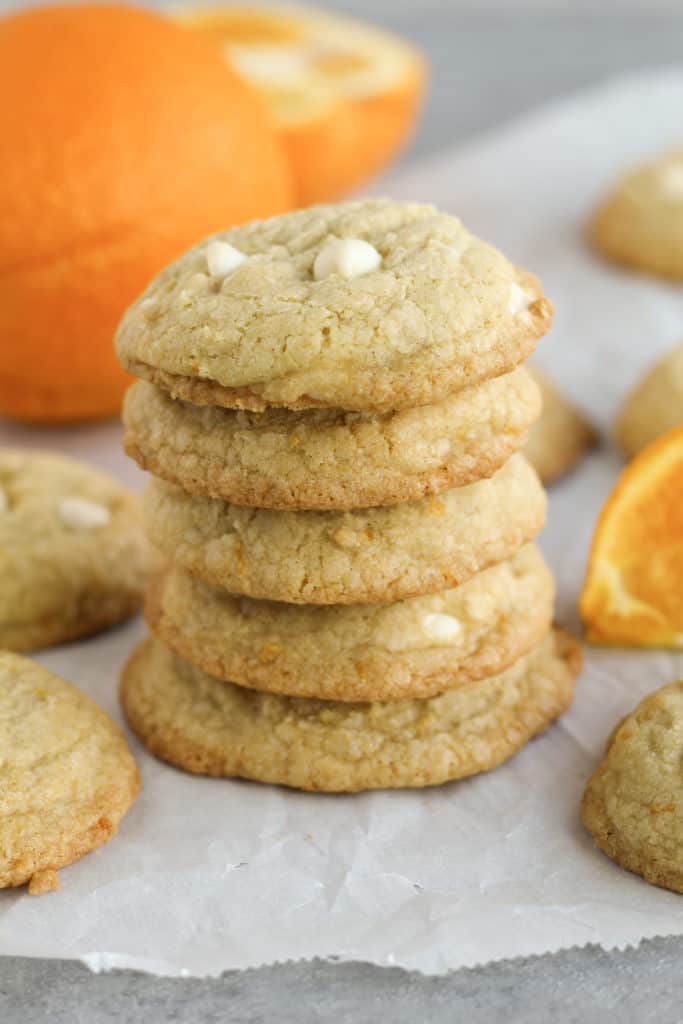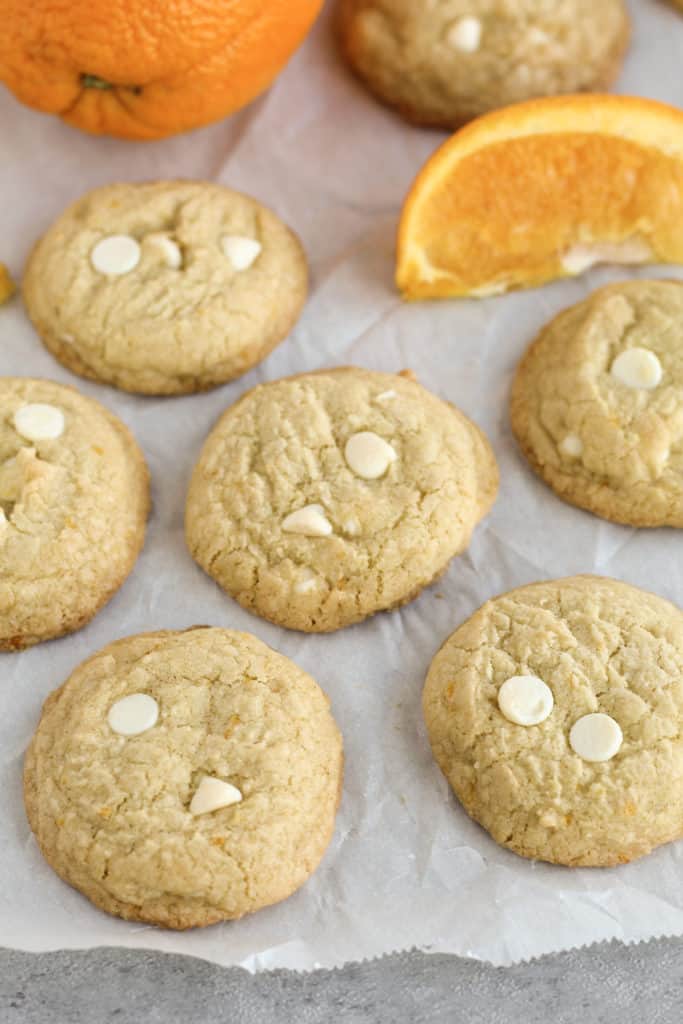
Sweet, citrus-filled Orange Cookies made gluten-free, with a dairy-free option. If you have an orange lover in your house, you NEED to make these cookies!
These gluten-free Orange Cookies are my husbands new favorite dessert.
I feel like that’s a bold statement. But after his first cookie, he immediately asked me if I could stock up our freezer with two dozen more.
Yup, two dozen. And yes, in our freezer. The man has a thing for frozen cookies. Not really sure what it is, but he loves them!
I’ve talked before about how my husband and kids are huge orange fans, which is what inspired my gluten-free Orange Carrot Oat Muffins and Orange Coconut Granola Bars.
Anything with delicious citrus-loaded orange flavor and they’re ON BOARD. I’ve used it to my advantage in the past, making healthier breakfasts or snacks orange-flavored to get some more good stuff in their diets.
But, I’m a big believer in balanced eating and treating yourself sometimes. It was time to make an orange-flavored dessert.
Studded with white chocolate chips, bursting with orange flavor, these gluten-free Orange Cookies are reminiscent of an Orange Creamsicle.

One of my favorite things about these Orange Cookies is that they’re made in one bowl.
If you’ve ever met anyone who isn’t a fan of less dishes, I’d like to meet them too! 😉
There are a couple important details to making sure you get these cookies just right so you can be enjoying these delicious cookies soon 🙂
First, make sure your butter or coconut oil is only SOFTENED.
By that, I mean you should still be able to generally see the shape of the butter or coconut oil after you’ve put it into the microwave, but the edges are melty and soft, with maybe a bit of melted butter or coconut oil underneath.
Briefly soften your butter or coconut oil in the microwave, in a microwave safe bowl. If you microwave your butter or coconut oil too much, then your cookies will spread too far and you’ll end up needing to chill them. So, be careful, and microwave it in small increments!
Second, don’t forget your orange zest! I’ve ranted talked about this in every fruit recipe I’ve shared so far. The zest is THE most important part to getting full orange flavor in these. The tablespoon of orange juice just won’t do it. This is my favorite tool to zest with.
Make sure you zest your ENTIRE orange; that’s a lot of good surface area of orange zest and you want every bit of it!
The rest of the recipe for these gluten-free Orange Cookies is as simple as my other cookie recipes, making it a great recipe for anyone who isn’t “really a baker” or wants something easy to make on the weekends with their kids! 🙂

These Orange Cookies scream summer pool party, or Memorial Day to me! I think they’re such a fun summer flavor that everyone would love them, wherever you take them!
Looking for more orange-flavored, summer party ideas? My husband, and I, would highly recommend our favorite alcoholic drinks: the Orange Thunder or Blue Margarita.

- 1/2 cup butter or coconut oil (for dairy-free), softened
- 1/4 cup brown sugar
- 1/2 cup white sugar
- 1 tbsp orange juice
- Zest of 1 orange
- 1 egg
- 1 tsp vanilla
- 1 1/2 cups gluten-free flour (I use Bob's Red Mill gluten-free 1-to-1 flour)
- 2 tsp cornstarch
- 1/2 tsp baking soda
- 1/4 tsp salt
- 1/2-3/4 cup white chocolate chips (if dairy-free, omit the chocolate chips)
-
To begin, preheat your oven to 350 and line two pans with parchment paper.
-
In a large mixing bowl, add your coconut oil, white sugar and brown sugar and beat with a mixer till creamy. Add your orange juice, orange zest, egg and vanilla and mix together again briefly.
-
To the same bowl, sprinkle in your flour, cornstarch, baking soda and salt. Stir until everything is well incorporated and you have a thick, smooth cookie dough. Add your white chocolate chips and gently fold them into your batter.
-
Using a small cookie scoop, scoop your cookie dough balls onto your pans, and spread them evenly apart (about 12 cookies to each pan). Bake in the oven for 10-12 minutes, or till the edges of the cookies are set and just gaining some color.
-
Let your cookies cool on the pan for at least 15 minutes, and then move them onto a cooling rack till they have cooled entirely.
-
Devour!
Store your cookies in an airtight container, and they taste best within the first 4 days.


Can you use shortening instead of coconut oil?
Hi Steffi. I haven’t tried making these cookies before with shortening. I would assume it would work, but it may be worth baking one cookie as a test to make sure. If it spreads too far, I’d recommend chilling them for 30 mins before trying to bake again. I hope this helps!