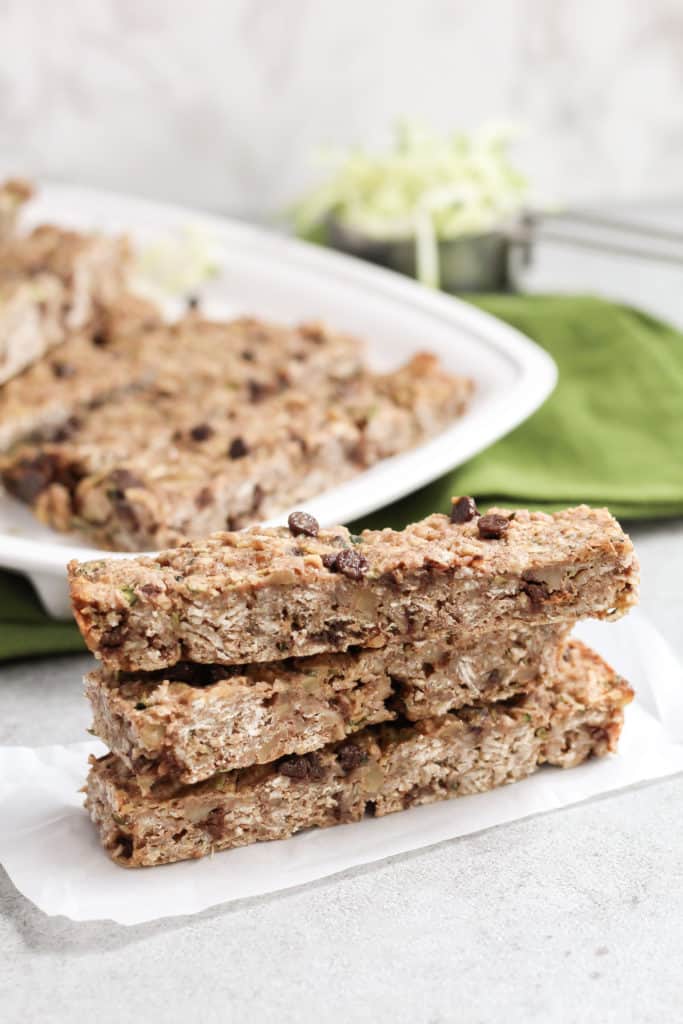
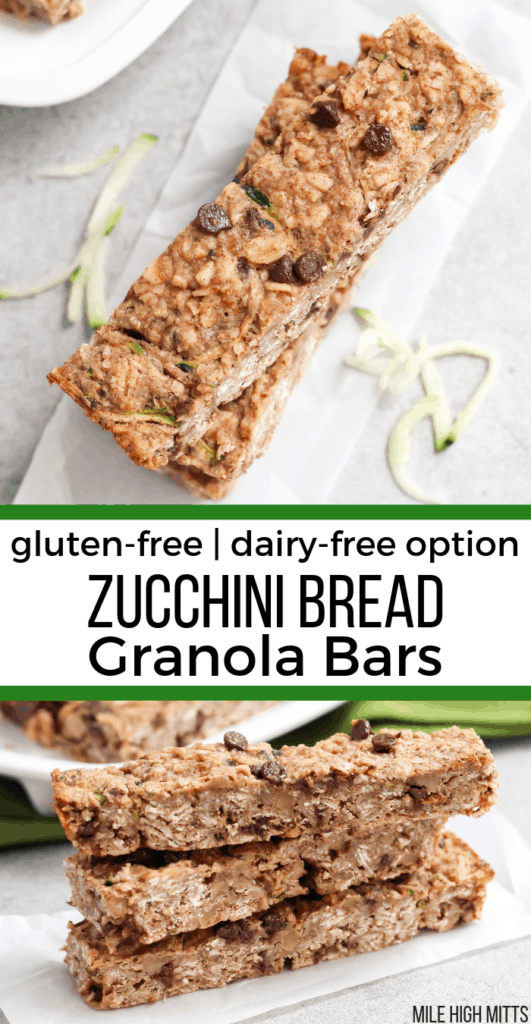
Is your garden overflowing with Zucchini? These Zucchini Bread Granola Bars are a simple and fun way to use up your extra zucchini. Filled with healthy ingredients, these homemade Granola Bars will disappear quickly!
Do you have a zucchini plant that can’t stop, won’t stop?!
JOIN THE CLUB! 😉
We moved this year in the early Summer and planted our garden immediately after, so we planted a little late. I knew squash would do well though and tried to plant three zucchini plants and yellow squash each.
One yellow squash plant bit the dust, but the rest grew quickly and are flourishing now. I love gardening, and prior to moving to our current home we were in a townhome and I couldn’t garden for a couple years.
So, here I am now, starting a new garden and COMPLETELY forgetting how much zucchini ONE zucchini plant can produce?!
Me a few weeks ago: I can’t wait to plant even more zucchini plants next year!
Me now: WHAT AM I GOING TO DO WITH ALL THIS ZUCCHINI???
So I’ve been getting creative. Zucchini Bread, Zucchini Oat Muffins, Zucchini Snack Balls, Zucchini Smoothies, Zucchini Bread Breakfast Cookies and these Zucchini Bread Granola Bars.
You’d think I’d be tired of it all by now, but I love cinnamon, nutmeg, shredded zucchini, and sometimes a few chocolate chips! Which is exactly what these healthy, homemade granola bars are made with.
Also filled with good-for-you ingredients like oats, oat flour, flax seed, coconut oil, walnuts, honey and applesauce for a snack with NO refined sugar!
These Zucchini Bread Granola Bars are soft yet crunchy (thanks to the walnuts!) and are based off of my favorite Maple Pecan Granola Bars.
Ever made homemade granola bars before?
Never fear, they’re super easy. As simple as making homemade muffins, really.
You’ll combined your dry ingredients, combine your wet ingredients separately, and then combine them together.
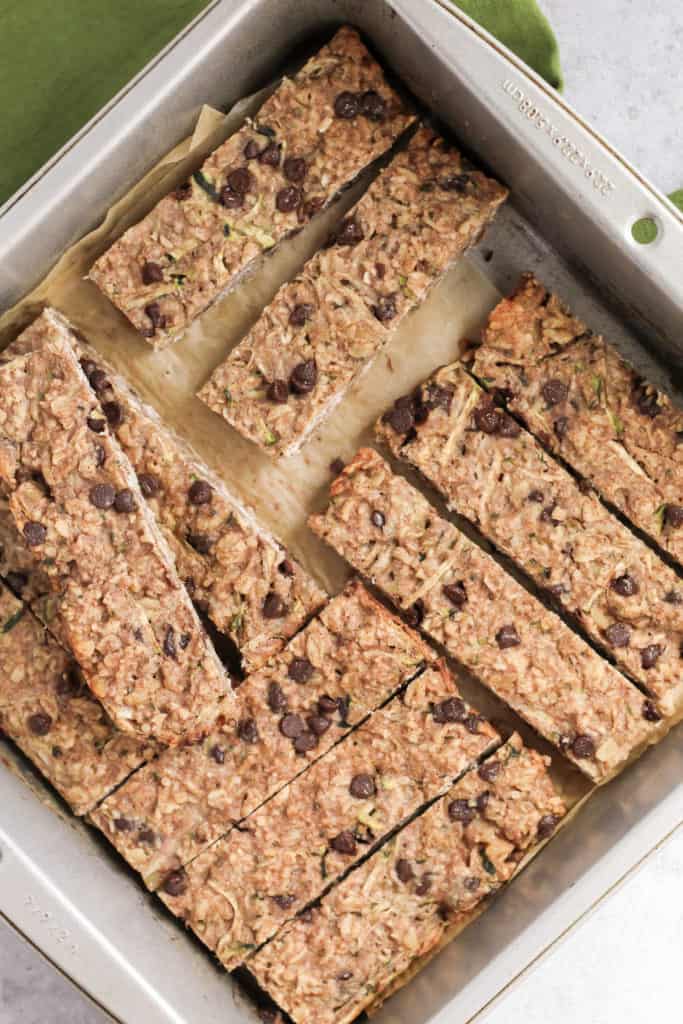
Then you fold in your zucchini, nuts and chocolate chips, and spread the mixture out into a pan to bake.
The hardest part here is spreading the “batter” out into a thin, even layer for your pan. But, patience is key here. Gently spread the batter out, rather than pushing it roughly around the pan.
Bake your bars, then wait till they have cooled entirely and cut them up however you like, and there you have it! One less cup of shredded zucchini in your fridge, yay! 😉
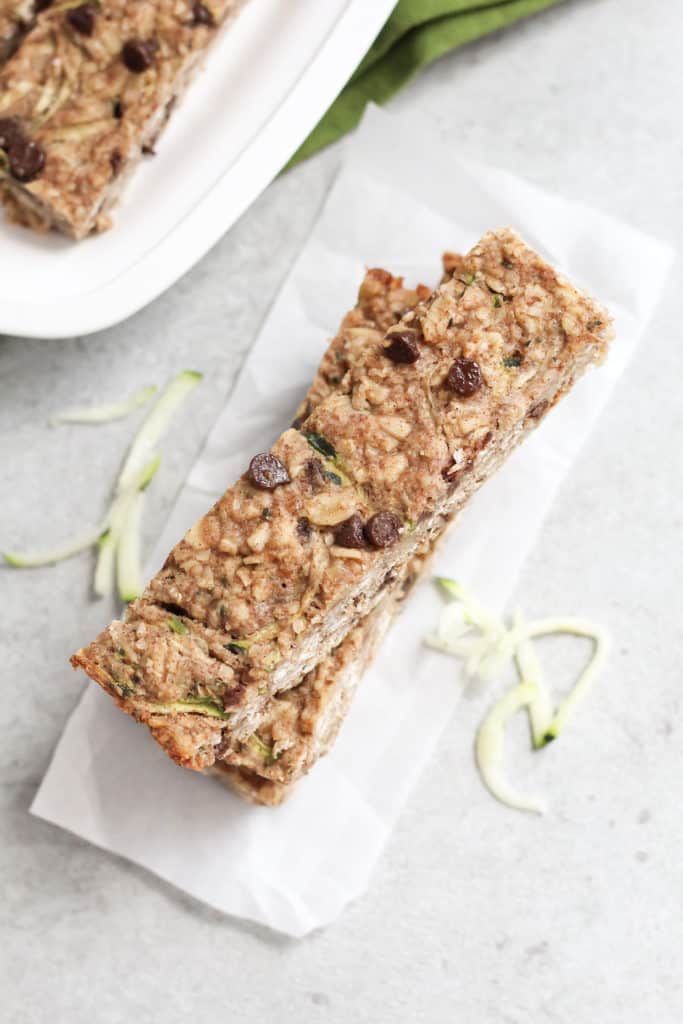
How fun are those little specks of green throughout?
My one year old daughter is a granola bar addict and these passed her taste test, which is saying a lot.. Well, who am I kidding, these Granola Bars have chocolate chips so of course my kids love them 😉
I hope you try these, rejoice in using up at least a little of your plethora of zucchini (sheesh!), and enjoy them too!
Need more veggies in your life? Check out my gluten-free Orange Carrot Oat Muffins, Carrot Cake Pancakes, or Chocolate Banana Oat Muffins (with hidden veggies).
- 1 cup oats (certified gluten-free)
- 1/2 cup oat flour (certified gluten-free)
- 2 tbsp ground flax seed
- 2 tsp cinnamon
- 1/2 tsp nutmeg
- 1/4 tsp salt
- 1/4 cup honey or maple syrup
- 1/4 cup applesauce (or mashed, ripe banana)
- 1/4 cup coconut oil, melted
- 1 tsp vanilla
- 1 egg
- 1 cup zucchini, shredded (squeezed and patted dry)
- 1/3 cup walnuts, finely chopped
- 1/4 cup mini chocolate chips (dairy-free, if necessary)
-
To begin, preheat your oven to 350 and line a 9×9 pan with parchment paper, with two sides sticking out for easy removal after baking.
-
In a small bowl, add your dry ingredients (oats, oat flour, flax seed, cinnamon, nutmeg, salt) and stir together till well combined.
-
In a large bowl, add your honey, applesauce, coconut oil and whisk together till combined. Add your vanilla and egg and whisk again till full incorporated.
-
Pour your dry ingredients into your wet ingredients and stir them together. Add you zucchini, walnuts and chocolate chips to the bowl, and gently fold them into your granola bar "batter."
-
Pour your batter into your pan and lightly spread it out into a thin, even layer, across the whole pan. I would recommend using a spatula for this and gripping a side of your parchment paper to help.
-
Bake in the oven for 30-35 minutes, or till the bars have set on top and are getting a little color to the edges. They should be pretty hard to touch. If not baked enough these bars will be too soft and a little messy.
-
Let cool entirely before removing the bars and cutting them. I recommend cutting them into two rows, and seven columns, for 14 bars. You can also cut them into square bars if you prefer.
These bars last in the fridge about a week. You can also individually wrap them and then place them in a large ziploc bag in the freezer for a couple months.

Leave a Reply