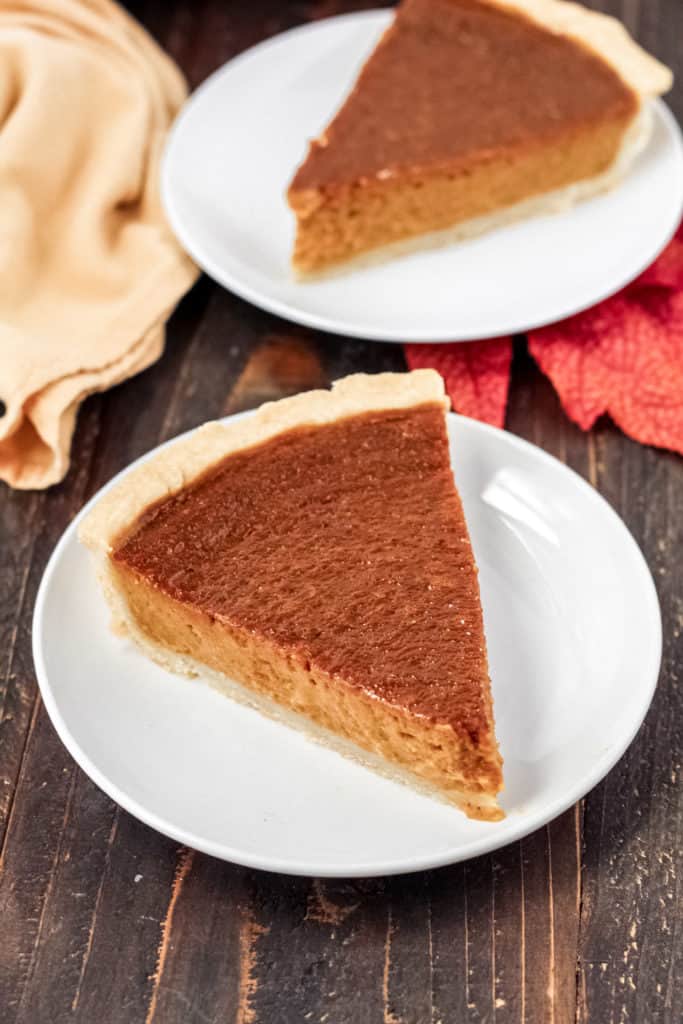
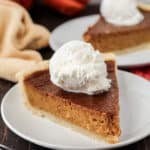
This Pumpkin Pie is made with an easy, flaky, gluten-free pie crust, and a perfectly spiced and smooth pumpkin pie filling. This from scratch pie recipe can also be made dairy-free too!
What’s your favorite thing to eat on Thanksgiving?
The mashed potatoes? Those were a big deal at my house growing up.
Maybe the turkey, or some other meat? My Mom cooks the turkey in a slow cooker so it’s super moist and falling apart. It’s amazing.
Or… dessert? It really isn’t Thanksgiving without pie of some kind, is it? I’ve shared my favorite pie recipe before: Pecan Pie. And I recently shared a fun new recipe for Pumpkin Pie Crumb Bars. But, the classic had to be done some day!
Here’s my favorite Pumpkin Pie recipe.
It starts with the same easy, gluten-free crust as my Pecan Pie, that’s made simple in a food processor. It’s buttery, flaky, and can easily be made dairy-free too!
Then, it’s filled with a simple pumpkin pie filling. No sweetened condensed milk in this pie. Instead, there’s pumpkin puree, either coconut milk or heavy cream, brown sugar or maple syrup, cornstarch, pumpkin pie spice, salt, vanilla and eggs.
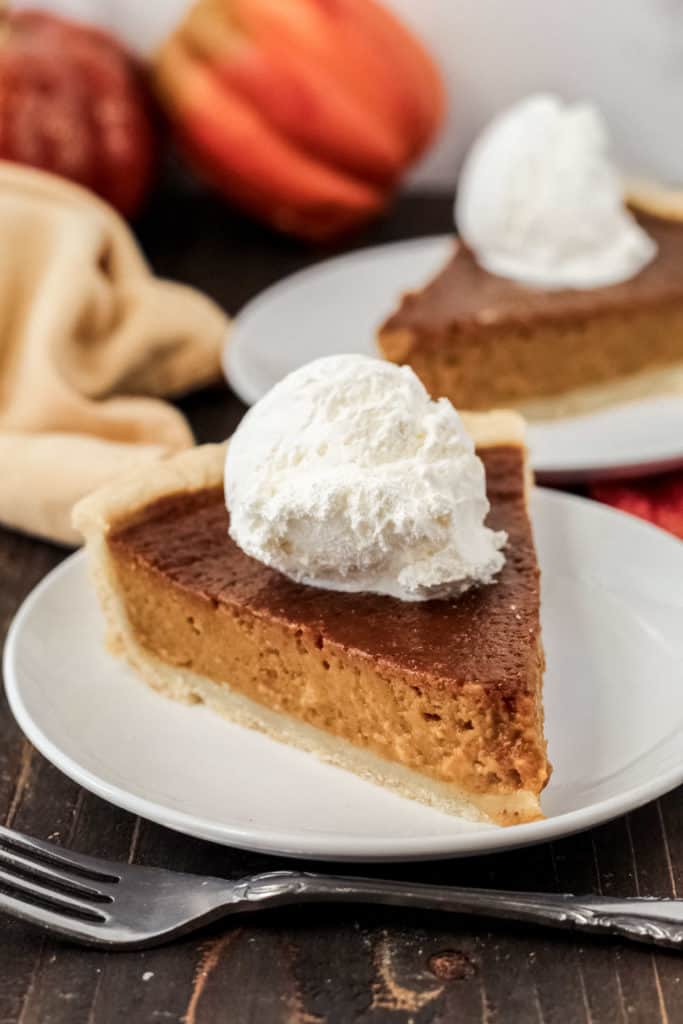
The result is a luscious filling, that holds up while slicing, but is still plenty creamy. Topped with whip cream or ice cream, this pie is THE dessert of Thanksgiving!
As with all my recipes, there are a few options and tips.
First, let’s chat about making the pie crust itself. Pie crust, especially gluten-free pie crust, can be intimidating. This easy crust isn’t!
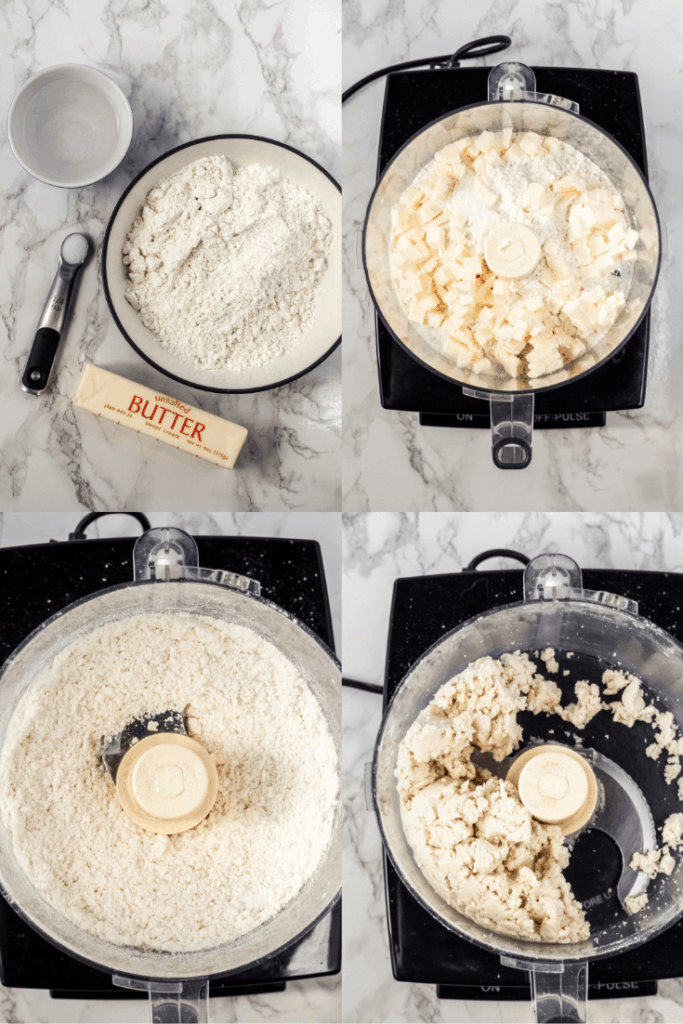
You’ll begin by adding your flour and salt to your food processor, with your s-blade in. Add your butter, cut into small pea-sized pieces, on top. Place your lid on and pulse till the flour looks like thick sand.
Next, you’ll add your water while you’re pulsing the food processor (for smooth blending). Start with 4 tablespoons of ice cold water, one at a time. If you need to add another tablespoon of water for the dough to stick together, you can. But, be careful. Adding too much water can affect the flakiness of the pie crust.
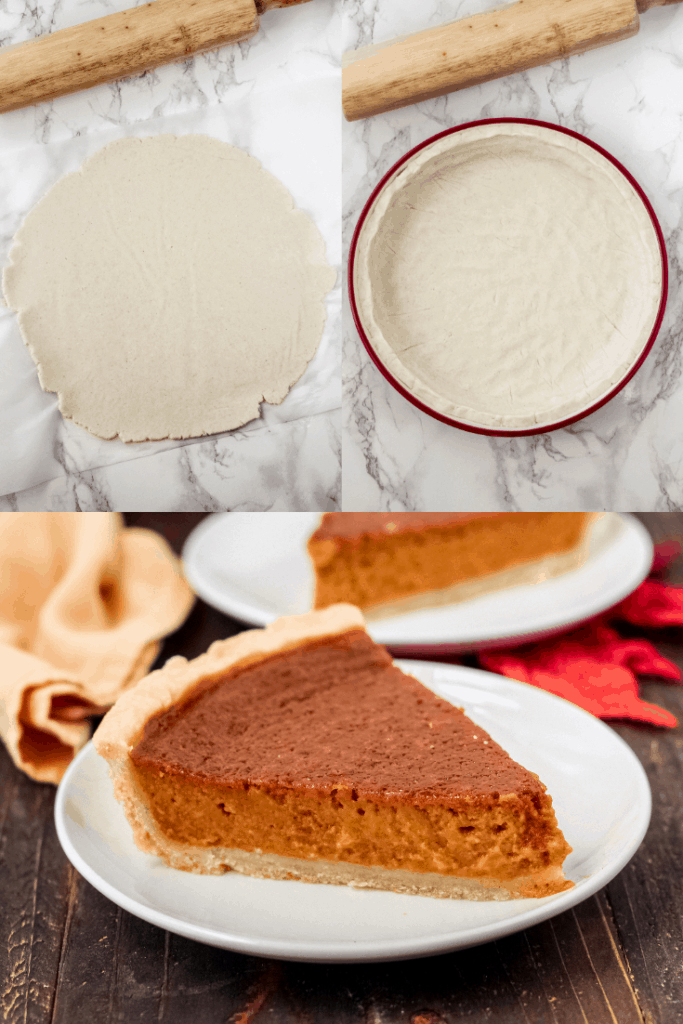
Then you’ll pulse the crust ingredients till they start coming together more. Dump the ingredients out onto a piece of parchment paper and gently push them together to form a flat disc. Place another piece of parchment paper across the top. Roll gently but firmly with your rolling pin, flattening out your pie crust till it’s larger than your pie pan.
Remove the top layer of parchment paper, slowly and carefully. Then, take a deep breath, and flip your pie crust over into your pie pan (so the bottom parchment paper piece becomes the top). Gently remove the second piece of parchment paper.
Push the pie crust into the pie pan and fix the top edge however you would like. I usually keep it simple, and just do a straight edge across the top.
Now, your pie crust will need to chill for several hours to get to the right temperature and develop the best flavor. Cover it and place it in the fridge.
That’s it! See, I told you that was easy, right? 😉
The filling is as simple as whisking the ingredients together in the right order, in one bowl. Again, easy as pie! 🙂
You can choose to easily make this pie dairy-free too.
I think often times at family gatherings you’ll find both gluten-free and/or dairy-free needs. I’m gluten-free, my sister is dairy-free, and my Mom is vegetarian! (And yes, trying to plan a meal with everyone’s dietary needs is interesting!)
First, you’ll start with making the crust with either a dairy-free butter alternative or coconut oil. If you choose to use coconut oil, place it in the fridge for at least an hour beforehand. This will solidify the oil so it’s much easier to work with, and you can actually cut it into smaller pieces.
Next, for the filling, you’ll use coconut milk (from a can) instead of heavy cream. It makes the pie just as luscious and delicious.
If you like to sweeten things more naturally, you can use maple syrup in the filling too, instead of brown sugar.
What’s not optional is the pumpkin pie spices! My favorite blend of pumpkin pie spices is one that I make myself. It’s made with 2 teaspoons of cinnamon, and 1/4 teaspoon each of nutmeg, cloves, ginger, and allspice. All of the best, to give a great spiced flavor to your pie.
If you’ve never tried to make gluten-free pie crust, I hope you find this recipe to be easy and that it works well for you. It’s never failed me. And, don’t forget to spray your pie pan with no-stick spray beforehand!
More gluten-free Holiday desserts that are my favorites, are my Maple Pecan Oatmeal Cookies, Gingerbread Cake, and Pumpkin Cupcakes.
And if you make this pie, don’t forget to let me know what you think! With a comment below, or find me on Instagram. Happy Thanksgiving, friends!
- 1 1/4 cup gluten-free all purpose flour (or regular flour)
- 1/2 cup butter or refrigerated coconut oil (or dairy-free butter alternative)
- 1/4 tsp salt
- 4-5 tbsp cold water
- 2 eggs
- 3/4 cup brown sugar (or 1/2 cup maple syrup)
- 2 tbsp cornstarch
- 2 1/2 tsp pumpkin pie spice
- 1/2 tsp salt
- 1 tsp vanilla
- 15 oz pumpkin puree
- 1 1/4 cup coconut milk (or heavy cream)
-
To begin, add your flour and salt to a food processor with your s-blade in. Cut your butter into small, pea-sized pieces and add it to your food processor. Pulse together till the butter has been finely ground into the flour (looking like thick sand). Then, while pulsing, add one tablespoon of ice cold water at a time. Pulse until your pie crust almost becomes one large ball.
-
Place a large piece of parchment paper on your counter. Place your pie crust on top, and gently push it together to form a thick disk. Place another piece of parchment paper on top. Using a rolling pin, gently roll the rough out till you have one, uniform, thin, round pie crust. You should be able to place your pie dish on top of the dough and still see extra dough sticking out around the pan, about two inches all around.
-
Spray your pie pan with non-stick spray.
-
Gently and slowly remove the top sheet of parchment paper from your pie crust. Quickly place your hand under the pie crust and parchment paper, and flip the pie crust over into the middle of your pie pan. Gently remove the second piece of parchment paper from the top.
-
Gently press the dough around the pie pan, so that you have one smooth, even layer, on the bottom and around the edges. If you have excess dough coming over the edges of the pie pan, you can cut or tear it off.
-
Smooth out the top edge of your pie crust or crimp it in a pattern.
-
Gently wrap your pie crust with plastic wrap and place it in the fridge for at least 4 hours, for the butter to harden and develop more flavor.
-
Prepare your filling after the crust has chilled in the fridge for 4 hours. Preheat your oven to 425.
-
To a large mixing bowl, add your eggs and beat them till they're fluffy. Then, add in your brown sugar, cornstarch, pumpkin pie spice and salt and whisk them together. Add your vanilla and pumpkin puree and whisk them in. Slowly whisk your coconut milk in. Pour the filling into your pie shell.
-
Bake in the oven for 15 minutes, then lower the temperature to 350 and bake for another 40-50 minutes. Gently insert a knife into the pie and remove it, to see if the filling has set. There should be no (or little) residue on the knife.
-
Let cool entirely before slicing into 8 pieces. Top with cool whip or ice cream, and devour!
Stored in the fridge in an airtight container, Pumpkin Pie lasts about 3-4 days.

Canned coconut milk right?
Yes!
do u use unsweetened coconut milk or sweetened coconut milk ?
Hi Leyla. Sorry it wasn’t clear, I would recommend unsweetened coconut milk.