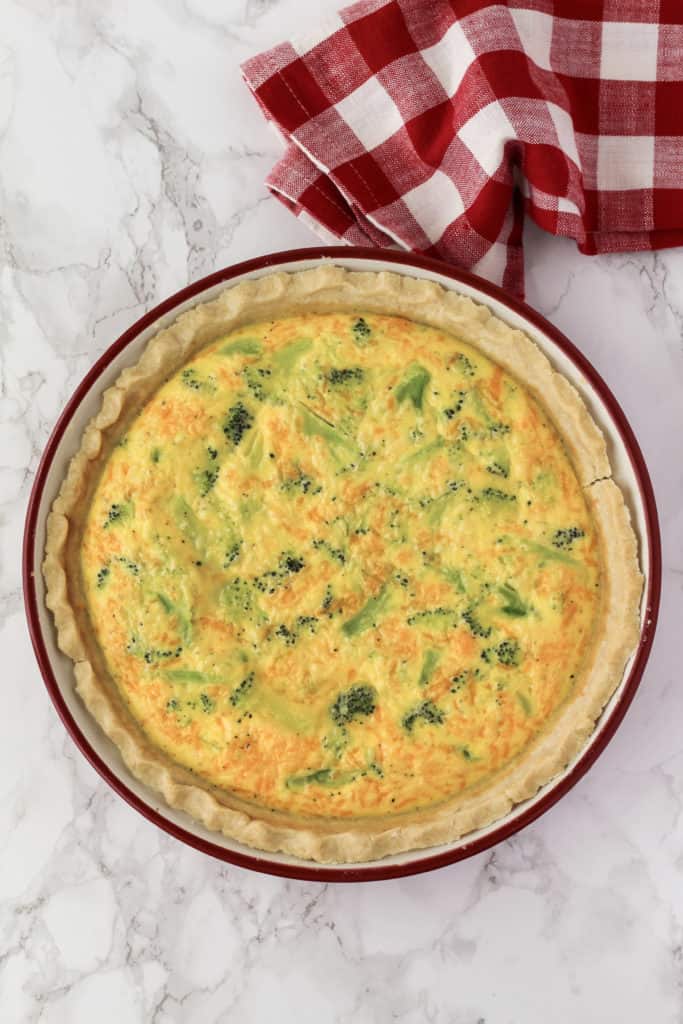
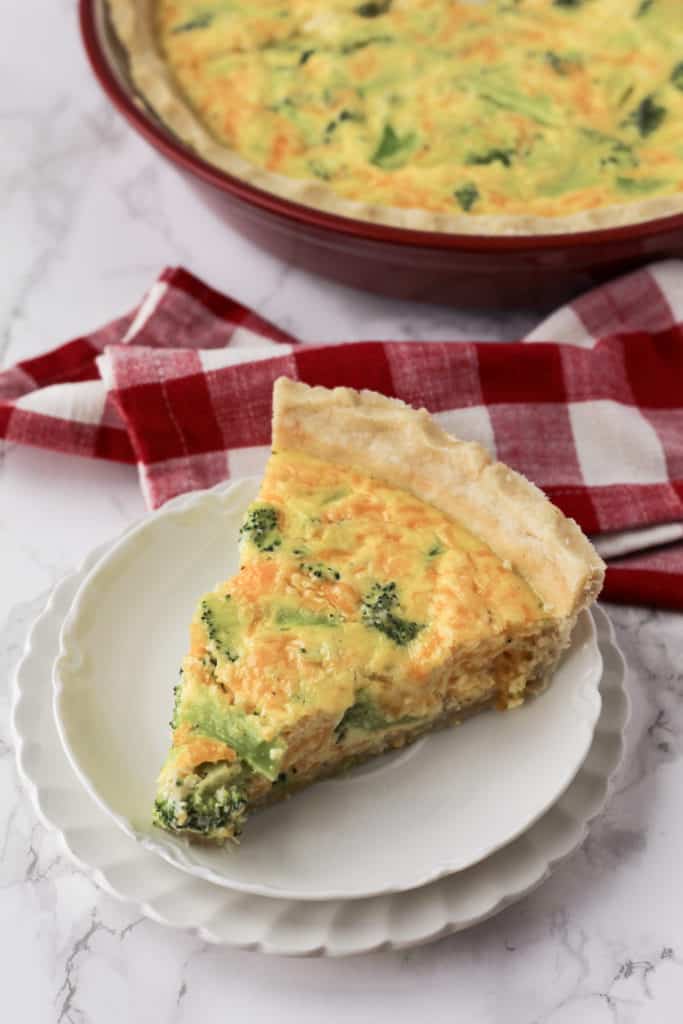
This gluten-free Quiche has a creamy, eggy, cheesy filling, and a simple buttery, crispy crust. You can add almost whatever you’d like to the egg filling, for endless flavor combinations. It’s a great breakfast to make for any special celebrations too!

Are you a quiche fan?
I never thought I was a really big quiche fan. My Mom hates eggs, so I didn’t grow up with many egg-based breakfasts.
That all changed last year when we stopped by a cute little gluten-free bakery that had quiche! It was delicious. I was immediately interested in making it myself with my gluten-free pie crust recipe.
I’ve made a few egg casserole recipes I like, so I modified some of my favorite recipes to make the quiche filling.
Now here it is, my favorite gluten-free Quiche recipe! I’ve made this several times now over the last year and it’s delicious.
The buttery, crispy pie crust with creamy, cheesy, eggy filling.. how did I not make this sooner?! The best part about this recipe is it’s pretty simple, believe it or not.
The pie crust is made easily in a food processor. Rolled out in between two pieces of parchment paper, and easily pressed into a pie pan, it’s a very easy dough to work with.
Then it’s filled with a simple filling made with eggs, plain Greek yogurt, milk, salt, pepper, cheddar cheese and whatever other fillings you’d like! My favorites are broccoli and bacon, but I’ll share some more ideas later in the post.
If you need a fancy breakfast the next morning, make the pie crust the night before, and make the simple egg filling in the morning. Easy peasy!
I think you guys are gonna love this one!

Let’s chat about the crust and filling options before you start baking.
First, this gluten-free pie crust is my favorite.
It’s made really easy in the food processor, so the butter is thoroughly incorporated into the flour, salt and water. If you don’t have a food processor, instead you can use a dough blender and cut the dough into the flour, which is how pie crusts are traditionally made.
I think a food processor makes the whole process extremely quick and less messy. Plus, less man power! It’s a win win all around to me.
After you form your pie crust and press it into your pie pan, you’ll cover your pie crust with saran wrap and let it rest in the fridge for at least four hours. You could bake it sooner than that, but giving it that amount of time really helps the butter flavor to develop. You could even make it the night before and let it rest in the fridge overnight!
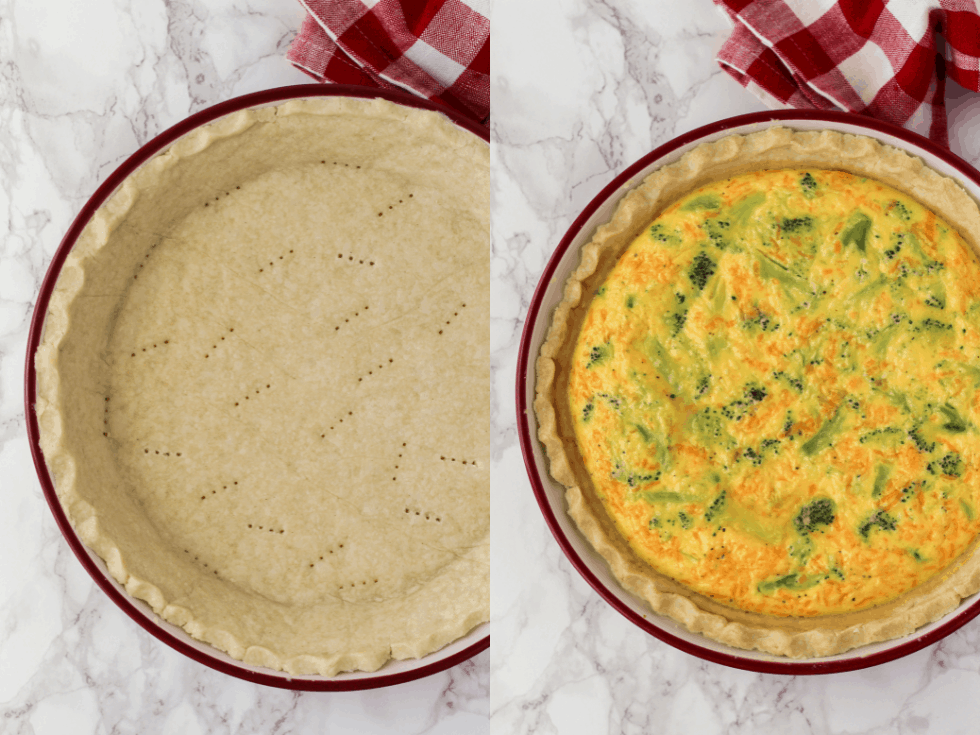
Instead of using pie weights to pre-bake your pie crust, we’re going to do a simple method I learned here. Gently poke holes around the bottom of your crust with a fork (also known as “docking” a pie crust). Then, pre-bake your pie crust in the oven for 10–15 minutes, watching it closely. If any bubbles form, poke them with a fork to deflate them.
It may seem like the egg filling will leak through the fork holes, but I haven’t had that issue at all. I think gluten-free pie crust tends to be a little more dense than regular pie crust, which helps to keep the filling in.
After baking your pie crust, you’ll turn your oven OFF and make your pie filling.
The crust and filling bake at two different temperatures. So, if you leave your oven on, and put your quiche in while it’s still too hot, your quiche filling won’t bake the same. The eggs can easily over-bake and won’t be as creamy. So just remember to turn it off right after taking your pie crust out.
The egg filling for this quiche is really simple. It’s made with eggs, plain Greek yogurt, milk, salt, pepper, cheddar cheese, and whatever other mix-in’s you’d like!
I’d recommend about another 1-1 1/2 cups of any mix-in’s such as:
- Veggies: cooked broccoli, spinach, tomatoes, mushrooms, etc.
- Meat: cooked bacon, ham, or sausage
- Herbs: green onions, basil, parsley, thyme, etc.
You could also use other cheeses, instead of cheddar (such a mozzarella, feta, etc.) or a combination of cheeses. Have fun and get creative! Use what you already have to save some money too.
My favorite combination is cheddar cheese, 6-8 slices of bacon and green onions. It’s a classic quiche combination that hits the spot for me! But, broccoli cheddar (like I made in the pictures) is also a tasty, healthier and vegetarian option.
Either way, you can’t go wrong with this recipe. The Greek yogurt adds a healthy ingredient, which brings a touch of tang and extra creaminess to this quiche. It’s SO good!
Next time you have friends or family over for brunch, give this gluten-free Quiche a try. It’s such a classic breakfast recipe that you don’t make everyday, making it extra special.

I can’t wait to hear what you guys think of this quiche recipe! My kids surprisingly love it too, as long as there’s bacon in it (ha!) which I can’t disagree with. Whatever mix-in’s you try, I hope you have fun with it and enjoy my version of this classic breakfast recipe.
After you’ve made it, let me know what you think! Leave a comment rating, below, and find me on Instagram and tag me in your picture. I LOVE to see what you guys make!
Before you go, check out some more special breakfast recipes like my gluten-free Cinnamon Rolls, Apple Cinnamon Coffee Cake and Cinnamon Sugar Scones.

- 1 1/4 cup all purpose gluten-free flour
- 1/4 tsp salt
- 1/2 cup butter
- 4 tbsp cold water
- 6 eggs
- 1/2 cup plain Greek yogurt (I prefer Fage 2%)
- 1/4 cup milk of choice (skim, 2%, whole)
- 1/4 tsp pepper
- 1/4 tsp salt
- 1 cup shredded cheddar cheese (or other cheese)
- 1 cup cooked broccoli (or other mix-in's, see post above for ideas)
-
To begin, add your flour and salt to a food processor (with your s-blade in). Cut your butter into small, pea-sized pieces and add it to your food processor. Pulse together till the butter has been finely ground into the flour (the mixture should look like thick sand). Start pulsing again and add 1 tablespoon of cold water at a time. Pulse till your pie crust comes together and almost becomes one large ball.
-
Place a large piece of parchment paper on your counter. Dump your pie crust mixture out of your food processor onto the parchment paper. Gently push it together and farm a thick disc. Add another piece of parchment paper on top. Using a rolling pin, gently but firmly roll the dough till you have one uniform, thin, round pie crust. If you put your pie dish on top of the dough in the center, you should see the extra dough sticking out around the edges (about two inches all around).
-
Spray your pie dish with non-stick spray.
-
Gently and slowly remove the top sheet of parchment paper from the pie crust. Place your hand under the pie crust and parchment paper, and flip the pie crust over into the middle of your pie pan. Gently remove the second piece of parchment paper from the top.
-
Gently press the dough around the pie pan, so that you have one smooth, even layer, on the bottom and around the edges. Smooth out the edge of the top of your pie crust or crimp it in a pattern.
-
Cover with plastic wrap, and let it rest in the fridge for about 4 hours, for the butter to harden and more flavor to develop.
-
Preheat your oven to 400.
-
Gently poke holes in the bottom of your pie crust with a fork to prevent bubbles (pictured above). Bake in the oven for 10-15 minutes, keeping an eye on the crust. If you see any bubbles, use a fork and quickly poke it through.
-
After the crust has baked, let it rest and turn your oven off while you prepare your filling.
-
To a large mixing bowl, add your eggs, Greek yogurt, milk, pepper and salt and whisk together till well combined. Add your cheddar cheese and other mix-in's (like broccoli) to your bowl and whisk it in. Pour into your pie crust.
-
Preheat your oven to 350, and bake your quiche for about 30-35 minutes, or till you gently shake the pan and the center just slightly jiggles. Depending on how many mix-in's you added, it may take less or more time to bake.
-
Let cool for about 15 minutes till slicing and serving. Devour!
Stored in an airtight container, this quiche lasts about 3-4 days. To reheat, I recommend wrapping it in a damp paper towel and microwaving it.

Leave a Reply